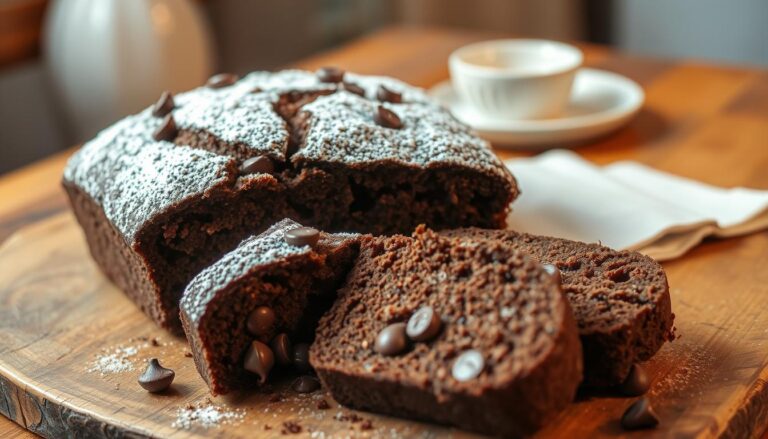
Chocolate covered peanuts recipe
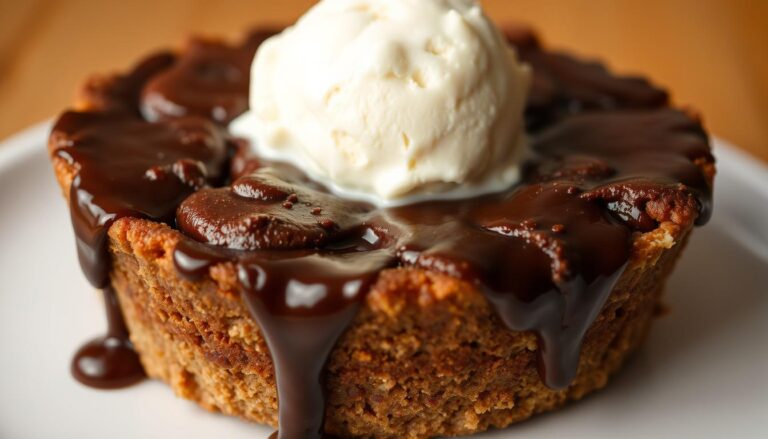
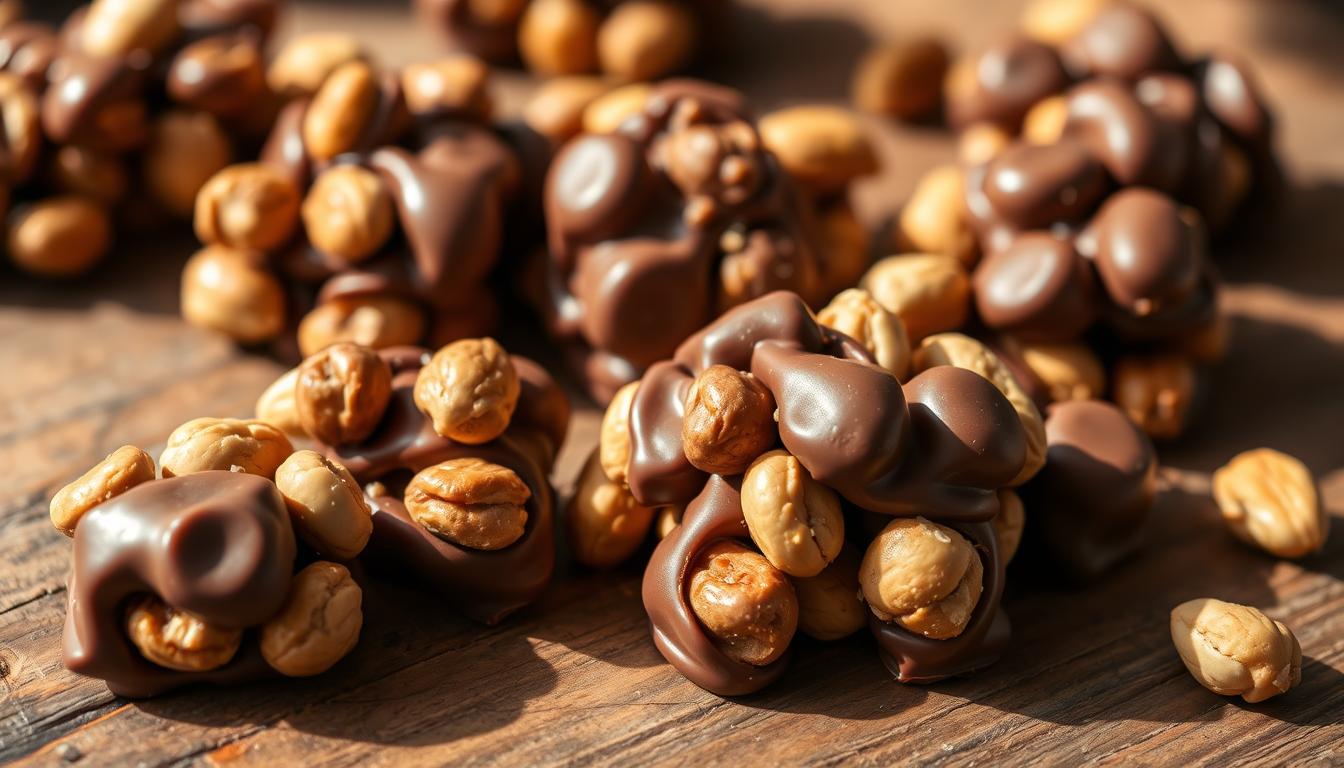
Do you remember the joy of biting into a chocolate-covered peanut? It’s more than a snack; it’s a moment of pure happiness. Making your own chocolate peanut clusters is an experience that brings together taste, creativity, and comfort in your kitchen.
If you love snacks or want to surprise your family, this recipe is perfect. It turns your kitchen into a gourmet candy shop. You’ll see how simple ingredients can make amazing treats that outdo any store-bought ones.
Making chocolate peanut clusters is more than just a snack. It’s about making something delicious from scratch. You get to control the quality and try new flavors. Get ready to make treats that will wow everyone.
Table of Contents
Why Make Your Own Chocolate Covered Peanuts at Home
Making your own chocolate covered peanuts is a fun and rewarding experience. It’s more than just a snack. You get to control the flavor, nutrition, and creativity in your kitchen.
There are many good reasons to make your own chocolate covered peanuts. It changes how you snack:
Health Benefits of Homemade Treats
When you make your own, you can choose healthier options. You can:
- Control the sugar
- Choose better ingredients
- Avoid preservatives
- Pick the best chocolate and nuts
Cost-Effective Snack Making
Making your own treats can save you money. Here’s a comparison:
| Snack Type | Average Cost per Pound | Customization |
|---|---|---|
| Store-Bought | $12-$18 | Limited |
| Homemade | $6-$9 | Unlimited |
Customization Possibilities
Your homemade chocolate covered peanuts are a blank canvas. You can try:
- Dark, milk, or white chocolate coatings
- Spice blends like cinnamon or chili
- Sea salt or coconut flake toppings
- Organic or specialty chocolate varieties
By making your own, you’re not just making a snack. You’re creating a personalized, healthier treat that shows off your taste and health goals.
Essential Ingredients for Perfect Chocolate Peanut Clusters
Making delicious chocolate peanut balls begins with choosing top-notch ingredients. Your recipe will stand out when you pick the best parts. This makes the taste and texture better.
To make the perfect chocolate peanut balls, you need a few key things:
- Chocolate Options:
- Dark chocolate (70% cocoa recommended)
- Milk chocolate
- White chocolate
- Peanut Selections:
- Roasted unsalted peanuts
- Raw peanuts
- Salted peanuts
Adding optional ingredients can make your chocolate peanut candy recipe even better. Try these:
- Sea salt
- Coconut oil
- Vanilla extract
- Powdered sugar
Choosing the best ingredients makes your homemade chocolate peanut balls taste amazing. Fresh, quality chocolate and well-roasted peanuts are key. They make your treat irresistible.
Pro tip: Always use fresh ingredients and check expiration dates to guarantee maximum flavor in your peanut candy recipe.
Required Kitchen Tools and Equipment
Making tasty nutty chocolate treats needs the right kitchen tools. Making chocolate covered peanuts at home is simpler with the right tools. These tools help you make these tasty snacks.
To make top-notch crunchy peanut confections, you need the right tools. Let’s look at the key tools for turning simple ingredients into tasty treats.
Basic Tools for Melting Chocolate
- Double boiler or heat-safe glass bowl
- Silicone spatula for smooth mixing
- Microwave-safe bowl (alternative method)
- Parchment paper or silicone baking mat
Optional Equipment for Professional Results
For better nutty chocolate treats, use these professional tools:
- Digital candy thermometer
- Chocolate dipping tools
- Wire cooling rack
- Candy coating trays
Storage Container Recommendations
Storing your treats right keeps them fresh. Choose containers that:
- Are airtight to prevent moisture
- Have a flat bottom to prevent chocolates from breaking
- Include parchment paper between layers
“The right tools can transform your home cooking from good to extraordinary!” – Professional Chocolatier
Quality kitchen equipment makes your home cooking better. With these tools, you can make professional-grade crunchy peanut confections at home. Enjoy making delicious nutty chocolate treats in your kitchen.
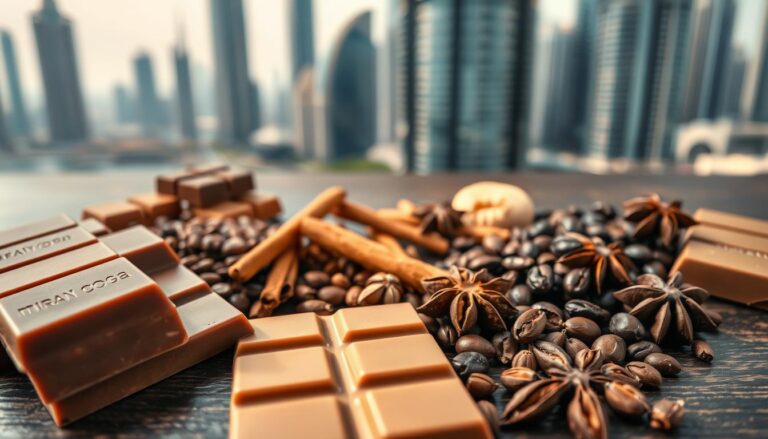
Selecting the Best Chocolate for Coating

Choosing the right chocolate is key for tasty chocolate covered peanuts. The chocolate you pick can make your recipe a hit or a miss. Each type of chocolate brings its own flavor and texture to your easy chocolate coating.
When picking chocolate for peanuts, think about these important points:
- Cocoa butter content
- Melting characteristics
- Flavor intensity
- Tempering requirements
Experts say there are three top chocolates for coating:
| Chocolate Type | Characteristics | Best For |
|---|---|---|
| Dark Chocolate | Rich flavor, high cocoa content | Intense chocolate lovers |
| Milk Chocolate | Creamy, sweeter profile | Balanced flavor preferences |
| Couverture Chocolate | High cocoa butter, smooth finish | Professional-quality coating |
Your chocolate choice affects the taste and feel of your chocolate covered peanuts. Couverture chocolate gives the smoothest coating because of its high cocoa butter. It’s perfect for a professional-looking treat.
Think about what you like and what you want your treat to be like. Try different chocolates to find your favorite chocolate covered peanuts recipe.
Preparing and Roasting Peanuts for Optimal Flavor
Creating delicious roasted peanuts in chocolate starts with perfecting the roasting process. The right preparation can transform simple chocolate peanut snacks from ordinary to extraordinary. Roasting peanuts brings out their rich, nutty flavor and creates a satisfying crunch that elevates your homemade treats.
Roasting peanuts at home is easier than you might think. The key is to use consistent heat and careful monitoring to achieve the perfect golden-brown color and optimal flavor profile.
Proper Roasting Techniques
Follow these essential steps for roasting peanuts:
- Preheat your oven to 350°F (175°C)
- Spread raw peanuts in a single layer on a baking sheet
- Roast for 15-20 minutes, stirring every 5 minutes
- Watch carefully to prevent burning
Seasoning Options
Enhance your roasted peanuts with simple seasonings:
- Sea salt for classic flavor
- Smoked paprika for a spicy kick
- Cinnamon and sugar for a sweet twist
- Garlic powder for savory notes
Cooling and Preparation Steps
After roasting, allow your peanuts to cool completely. This step is crucial for creating crisp, simple chocolate peanut snacks. Spread the roasted peanuts on a clean kitchen towel and let them rest for 10-15 minutes. Pat off any excess oil to ensure a perfect chocolate coating.
“The secret to great roasted peanuts is patience and attention to detail.” – Culinary Expert
Pro tip: Remove the papery skin from roasted peanuts by rubbing them gently between your hands or using a clean kitchen towel. This extra step ensures a smoother finish for your chocolate-covered treats.
Chocolate Covered Peanuts Recipe: Step-by-Step Guide
Making homemade chocolate peanut clusters is simple. This recipe will guide you to create a sweet treat that will wow your loved ones.
First, collect all your ingredients and tools. Making these clusters needs precision and patience.
- Make sure your roasted peanuts are dry and at room temperature
- Pick high-quality chocolate for melting (dark, milk, or semi-sweet work best)
- Choose a clean, dry workspace with proper temperature control
For your peanut candy recipe, you’ll need these key ingredients:
- 2 cups roasted peanuts
- 12 ounces chocolate chips
- 1 tablespoon coconut oil (optional, for smoother melting)
Melting chocolate needs gentle heat. Use a double boiler or microwave in short 30-second intervals, stirring between each burst. Avoid overheating, which can cause chocolate to seize.
When coating your peanuts, work quickly to ensure even distribution. Drop spoonfuls of the chocolate-covered peanuts onto parchment paper, creating small clusters. Let them cool and set at room temperature for about 30 minutes.
Pro tip: For glossy, professional-looking homemade chocolate peanut clusters, temper your chocolate by carefully controlling its temperature.
Keep your finished peanut candy recipe in an airtight container at room temperature. They’ll stay fresh for up to two weeks – if they last that long!
| Ingredient | Quantity | Purpose |
|---|---|---|
| Roasted Peanuts | 2 cups | Base of the clusters |
| Chocolate Chips | 12 ounces | Coating and binding |
| Coconut Oil | 1 tablespoon | Smooth chocolate texture |
Tips for Perfect Chocolate Tempering
Mastering chocolate tempering is key for professional-looking chocolate covered peanuts. Proper tempering gives a smooth, glossy finish and a satisfying snap. It’s essential for your chocolate covered peanuts recipe.
Tempering changes chocolate’s molecular structure, making it shiny and stable. Without it, your chocolate might look dull, have white streaks, or crumble.
Temperature Control Methods
Follow these temperature control techniques:
- Use a digital thermometer for precise tracking
- Set specific temperature ranges:
- Dark chocolate: 88-90°F (31-32°C)
- Milk chocolate: 86-88°F (30-31°C)
- White chocolate: 82-84°F (28-29°C)
- Try the seeding method by adding unmelted chocolate to melted chocolate
Common Tempering Mistakes to Avoid
Be careful of these common mistakes in your chocolate covered peanuts recipe:
- Overheating chocolate – ruins the crystal structure
- Using wet utensils – water can cause chocolate to seize
- Rapid temperature changes – can create bloom or streaking
- Rushing the cooling process
Creating perfect chocolate coating requires patience. Monitor temperatures carefully. You’ll get professional-quality chocolate covered peanuts every time.
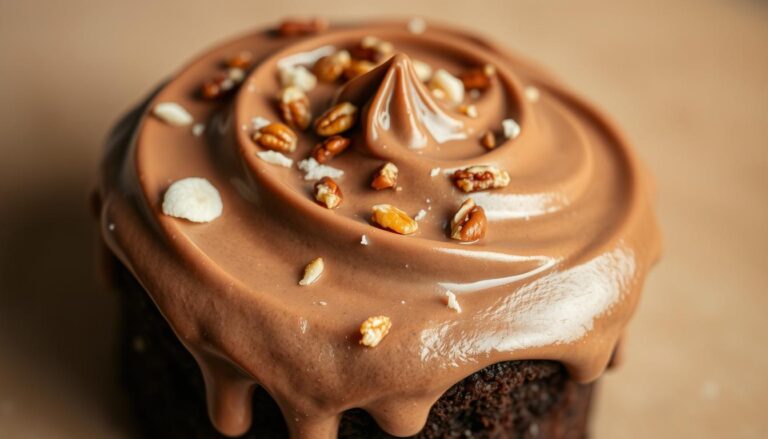
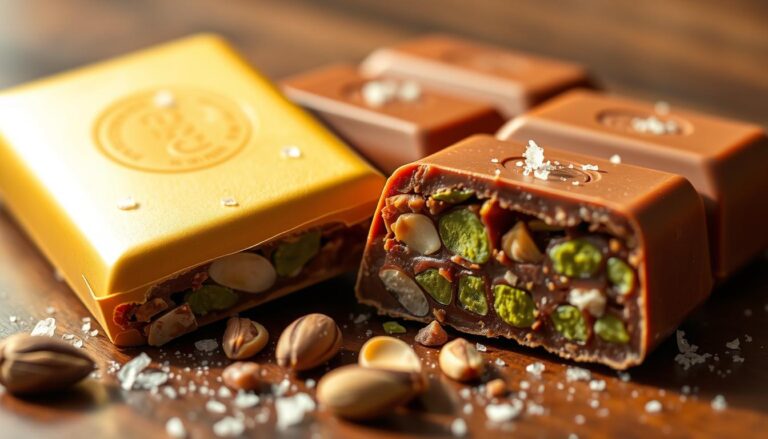
Creative Variations and Flavor Combinations

Turn your simple chocolate peanut balls into something special. Try new flavor mixes and creative coatings. Your homemade treats can become fancy with just a few tweaks.
Here are some tasty variations for your chocolate peanut balls:
- Spicy Chocolate Twist: Mix dark chocolate with a bit of cayenne pepper for a unique taste
- Sea Salt Caramel Drizzle: Coat with a light caramel and sprinkle with flaky sea salt
- Espresso-Infused Coating: Add ground coffee to milk chocolate for a deep flavor
- Coconut Crunch: Coat in toasted coconut flakes
Try different nuts instead of peanuts:
- Roasted almonds
- Cashews
- Macadamia nuts
- Pecans
“Creativity in the kitchen transforms simple ingredients into extraordinary experiences.” – Anonymous Chocolatier
Make your chocolate peanut balls stand out. Add crushed graham crackers, dried fruit, or a sprinkle of edible gold powder for a fancy look.
Storage Tips and Shelf Life
Keeping your simple chocolate peanut snacks fresh is key. The right storage can keep them tasty for weeks or months.
Your nutty chocolate treats need the right care to stay fresh. Knowing the best storage tips can greatly improve their taste and texture.
Packaging Strategies for Maximum Freshness
- Use airtight glass containers with tight-fitting lids
- Wrap individual clusters in wax paper for gift-giving
- Choose containers that block light and moisture
- Select food-grade containers with secure seals
Temperature Management
Temperature is vital for keeping your snacks fresh. Chocolate is sensitive to heat and humidity, which can change its texture and look.
| Storage Condition | Shelf Life | Quality Preservation |
|---|---|---|
| Room Temperature (60-70°F) | 2-3 weeks | Good |
| Refrigerator (40-45°F) | 4-6 weeks | Excellent |
| Freezer (0°F) | 2-3 months | Perfect |
Pro tip: Always let refrigerated or frozen nutty chocolate treats return to room temperature before serving to restore their original texture and flavor.
When storing your homemade chocolate covered peanuts, cool, dark places are best. Stay away from direct sunlight, heat, and high humidity to keep them fresh.
Troubleshooting Common Issues
Making the perfect chocolate covered peanuts can be tricky. Even experienced cooks face challenges. Knowing common problems helps you get delicious results every time.
Chocolate seizing is a common issue. It happens when melted chocolate meets moisture, making it grainy and thick. To avoid this:
- Use completely dry utensils and bowls
- Avoid introducing water near melting chocolate
- Use a double boiler or microwave with careful temperature control
Chocolate blooming is another challenge. It creates a whitish film on the chocolate’s surface. This is due to temperature changes or bad storage. To fight blooming:
- Store chocolates in a cool, consistent environment
- Maintain temperatures between 60-70°F
- Use airtight containers for storage
Proper peanut preparation is also key. Oily or under-roasted peanuts can cause texture problems. Make sure your peanuts are properly roasted and cooled before coating. Dry them with paper towels to remove excess oil, helping the chocolate stick better.
Tempering issues can also affect your chocolate. If your chocolate looks dull or doesn’t set right, try gently reheating it. Stir it well to get its glossy finish back. With practice and patience, you’ll master making homemade chocolate peanut clusters.
Conclusion
Making roasted peanuts in chocolate at home is a fun adventure. Your homemade chocolate covered peanuts are more than a snack. They’re a creative journey that brings joy and flavor.
Creating easy chocolate coating for peanuts is more than just making a treat. You’ve learned to pick the best ingredients and master tempering. You’ve also discovered unique flavors that you love.
Chocolate covered peanuts are perfect for any occasion. They impress friends, make great gifts, or satisfy your cravings. Your skills will turn simple ingredients into gourmet treats.
Be your own culinary artist and keep exploring homemade chocolate treats. The key ingredient is your creativity and eagerness to learn.